


You will need:
First, open up the Papercraft Maker file. This works on mobile too.
You’ll see this when you open it up:
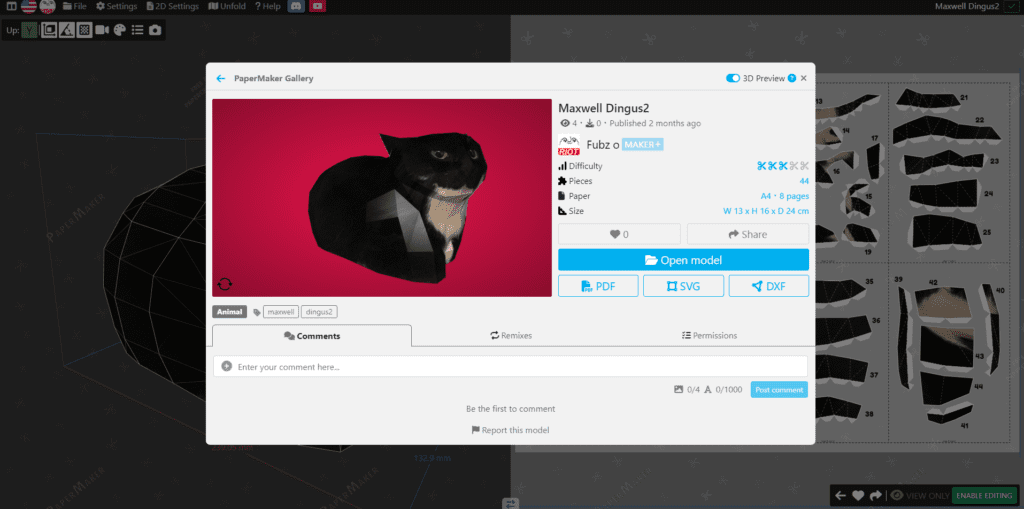
Click “Open model”
This file is where you can see how all the pieces join together.
Press File -> Export -> Export as PDF.
Now we can get printing. For paper you could get away with using normal printer paper, however you’ll have to work patiently and precisely. Card is highly suggested to use, just make sure you’re not using anything heavier than 200gsm. It just needs to be a bit thicker than normal paper.
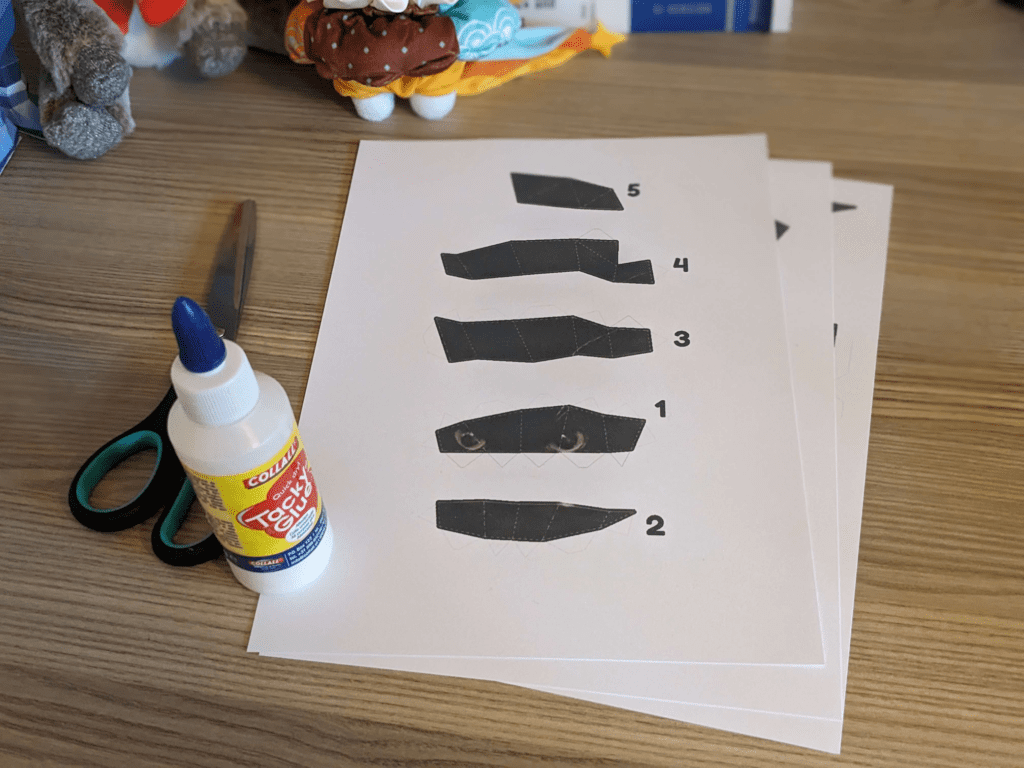
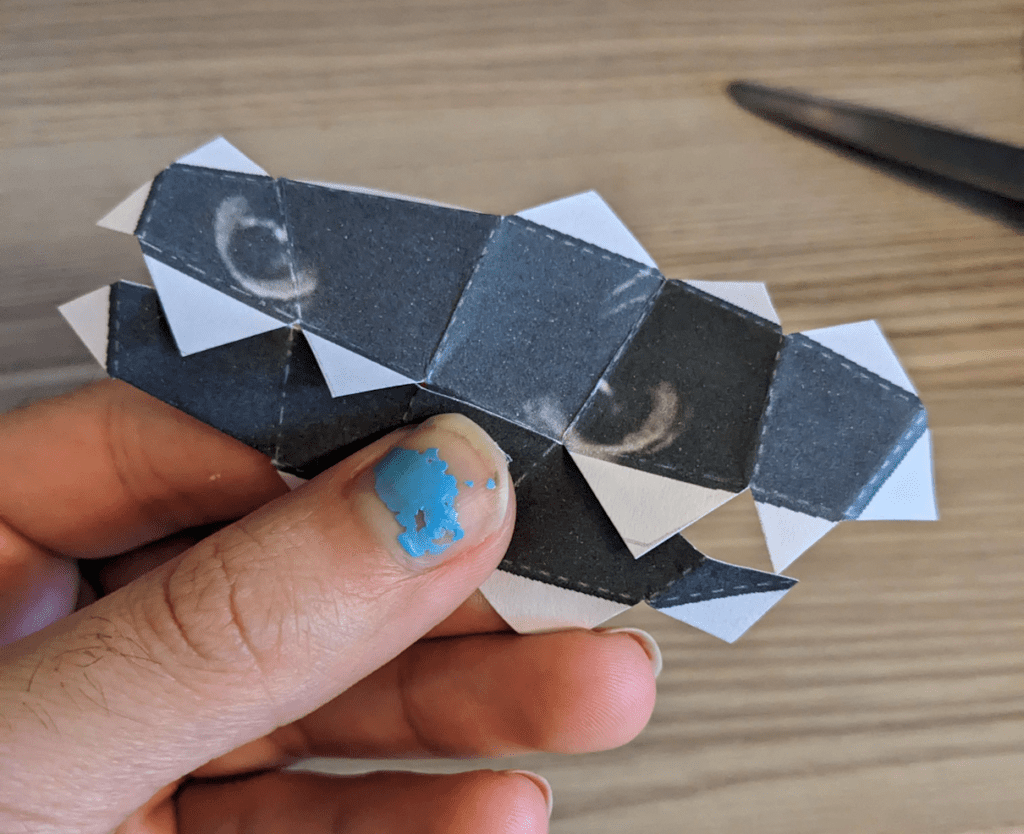
Now that we have our printed out pieces, we can cut out Piece 1 following the cut lines.
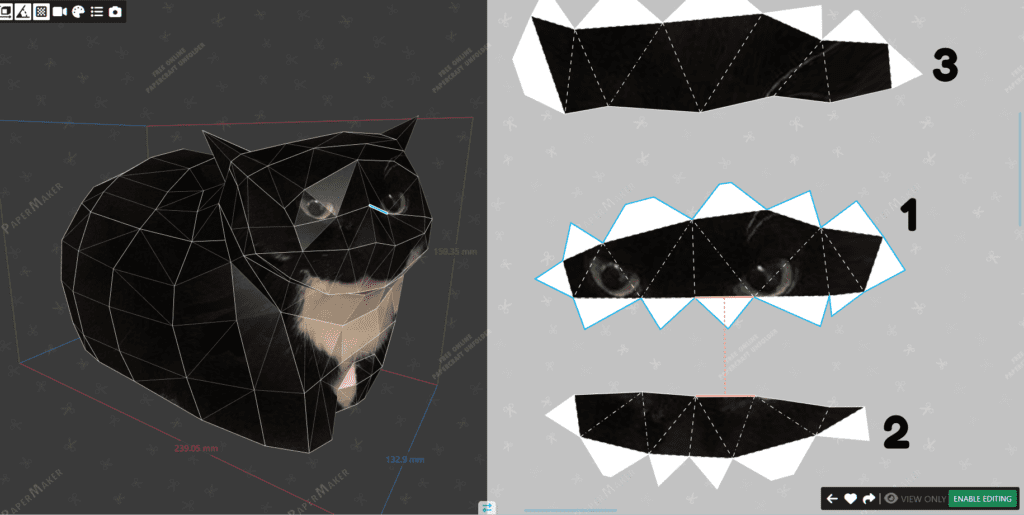
We’ll work one piece at a time. Fold the pieces noting whether it is a mountain or valley fold. You can see on the Papercraft Maker link where this piece is going to fit and how it folds.
For a sharper look, you can score lines before you fold them. Use an empty pen, the back of a blade, a toothpick or bone folder to do this. This is an extra step that creates a beautiful effect. I personally don’t do this, but it’s definitely worth the effort.
Cut out and fold piece number 2, taking note to fold every line correctly.
Now that we have 2 pieces, we can start gluing.
Using the Papercraft Maker link we can see where each flap connects to the next. It’s a good idea to line up the pieces with each other to understand how they connect before gluing.
For gluing technique, I use a palette and spread a blob of glue onto it. I then use a little stick to spread the glue onto the craft.
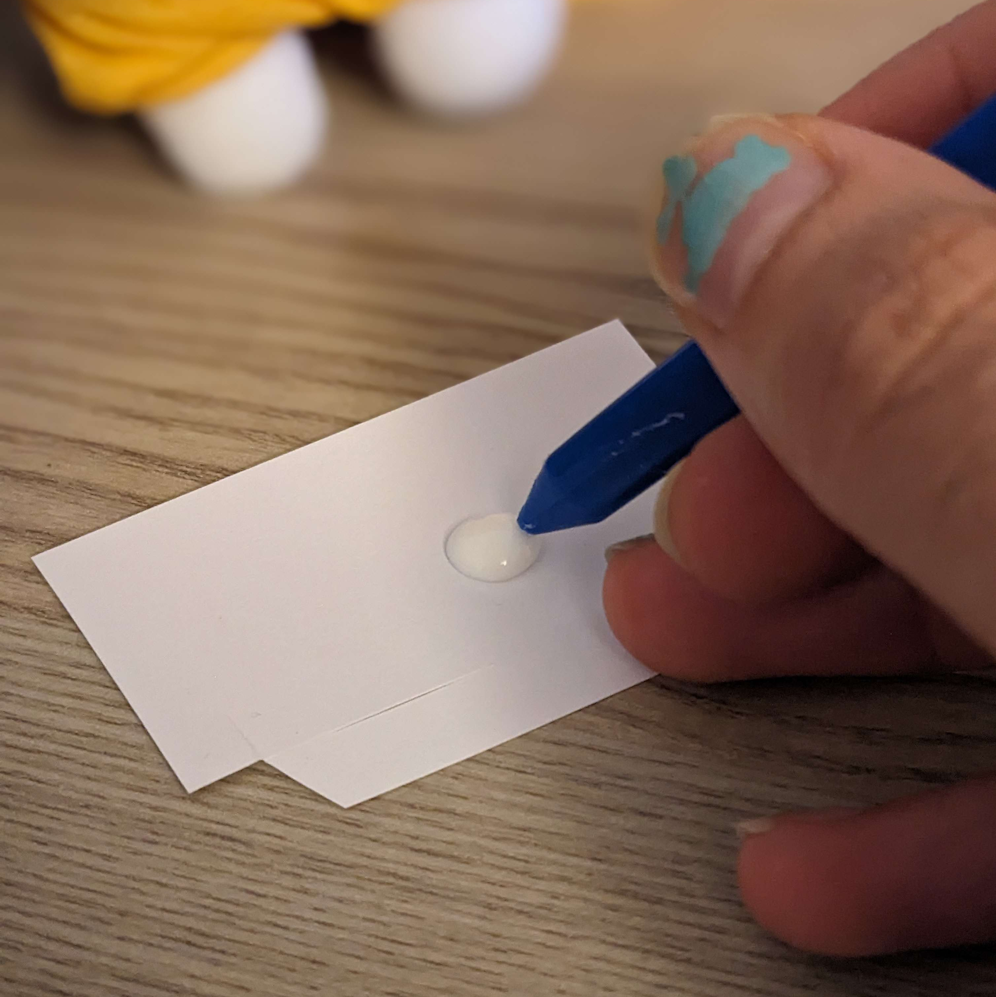
In general we want to use as little glue as possible so that the glue can dry quickly.
When it comes to glue choice, PVA/Elmer’s glue works perfectly, but using Tacky glue will speed up the drying process much faster.
So, join the two pieces together, using a thin layer of glue and then hold the pieces together until the glue is completely dry. Continue along this process until they’re completely joined.
[add image of the gluing things together, a thin slice]
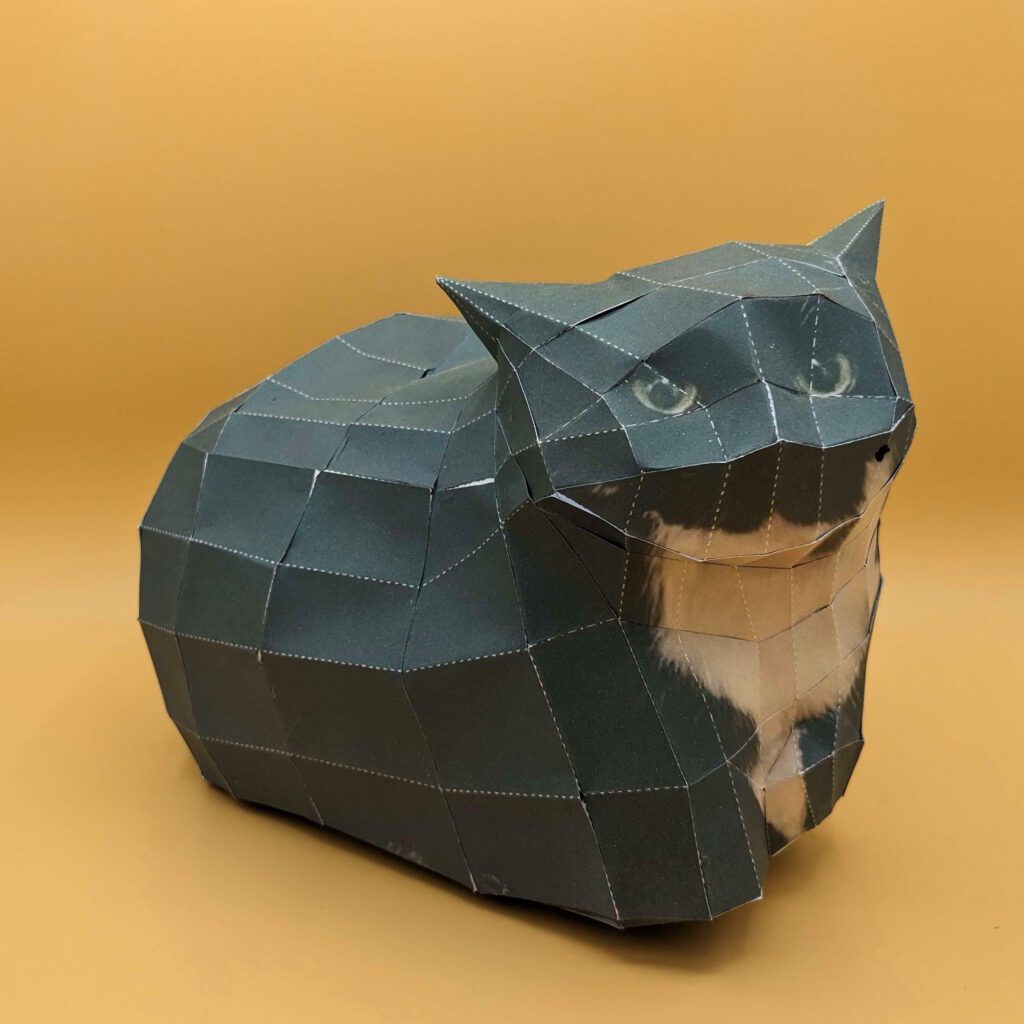
Keep on with these steps for every part and that will be you finished! If you have any trouble, please feel free to ask in our community Discord server.
Once you’re done, if you post the image on social media, give me a tag because I’d love to see it!
Happy crafting!
-Fubzo
Lorem Ipsum